Garland // Merry + Bright
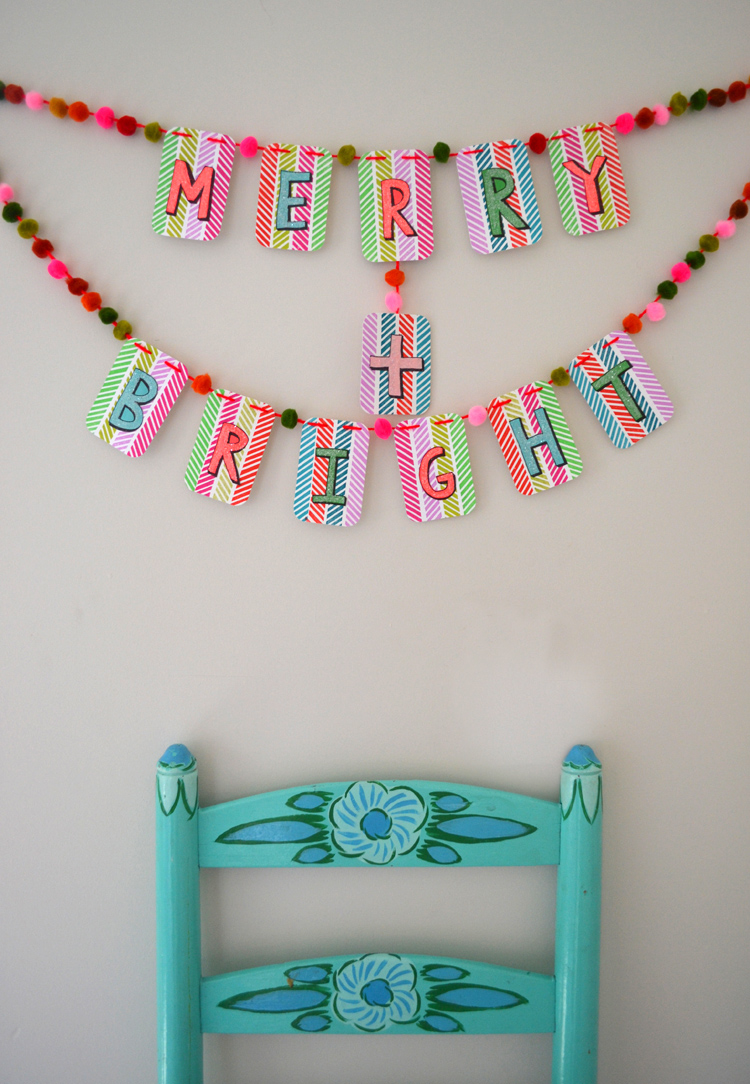
I had some leftover gift tags from my project the other 24-hour interval that were calling my proper name. And so yesterday, on my 15th hymeneals anniversary (mentioned to remind myself that I married a very kind man who lets me leave projects out on the dining room table for weeks. Alright, sometimes he does ask near the crap on the table, just all the same…), I decided to make this cheery piddling banner. It makes me happy.
Practice you lot want to give it a try? Here'due south how to make ane, or a variation:
Supplies:
Patterned cards, about 2″ 10 iii″
Colored paper (for the messages)
Black fine tip Sharpie
Elmer's glue
White glitter
Pom-poms
Pair of scissors
Hole punch
Red yarn
Sewing needle

Start past making the little cards. I condom stamped mine, simply you can also utilise recycled holiday cards. Cutting them to size and circular the corners if you'd similar to (but you don't accept to).

Meanwhile, describe your block letters. Here is a slap-up tutorial on creating cake shadow letters. They are really fun (and addicting) to brand. Utilize a castor to apply the mucilage carefully, then sprinkle on some glitter.

After the gum & glitter is dry out (preferable overnight), y'all tin cut out the letters. I actually made these letters a while back for something else which was handy! Then mucilage the letters onto the cards.

Lay out your design and place the pom-poms where you want them. Use the hole punch to create 4 picayune holes. This will give yous a more stitched look.

Thread the pom-poms and cards. I threaded two separate rows: One for the MERRY and one for the Bright. Then I tied them together. I taped the "+" nether the "R".


This project requires a little patience, especially if you haven't washed shadow letters before. But it's worth it so I promise you lot give information technology a go!
Have a happy weekend. ♡
xo, Bar
Reader Interactions
Source: https://www.artbarblog.com/garland-merry-bright/
Post a Comment for "Garland // Merry + Bright"